School Projects

Fun Projects

Monday, May 19, 2014

Shaving Cream and Food Coloring Revisited

I was going through my craft supplies a while ago (since this damp and chilly spring has prevented me from taking care of my flower beds I have had at least a little extra time available for organization) and I found some rather old cans of shaving foam.  I am sure the question "Why is that crazy woman storing shaving foam in a basket with pipe cleaners, glitter and popsicle sticks?" sprang instantly to mind.  The answer to that question is that shaving cream can be used to make a really cool project, of course!

This project, a simple technique for marbling paper, is one that we have enjoyed before (here) and the bright colors seemed to call to me on yet anther gloomy spring day.
First, you spray a fairly thick layer of the foam into a cookie sheet or other low sided pan and then smooth it out like frosting.
Next, you drip liquid food coloring on top of the shaving cream.  You can make any sort of pattern you like with as many colors as you want.

After you have added your food coloring, use a bamboo skewer to mix and swirl - we found dragging the stick in a swirl produced the best designs.
Finally, you set your paper down over the design and just gently run your fingertips over paper until you see the dye begin to adhere to the paper (we used finger-painting paper this time, and that worked very well, but construction or art paper would work too).  Then, pick up two corners of the paper and lift it off in one smooth motion.  A certain amount of foam will stay stuck to the paper, but as it dries it will turn powdery and can be gently dusted off.
You can make another sheet using the same foam, re-swirl the original leftovers for a new design, or add more colors and make a new design until the foam gets packed down below the rim of your pan.  At that point you can either clean out the pan and start over or just add a new layer of foam on top.
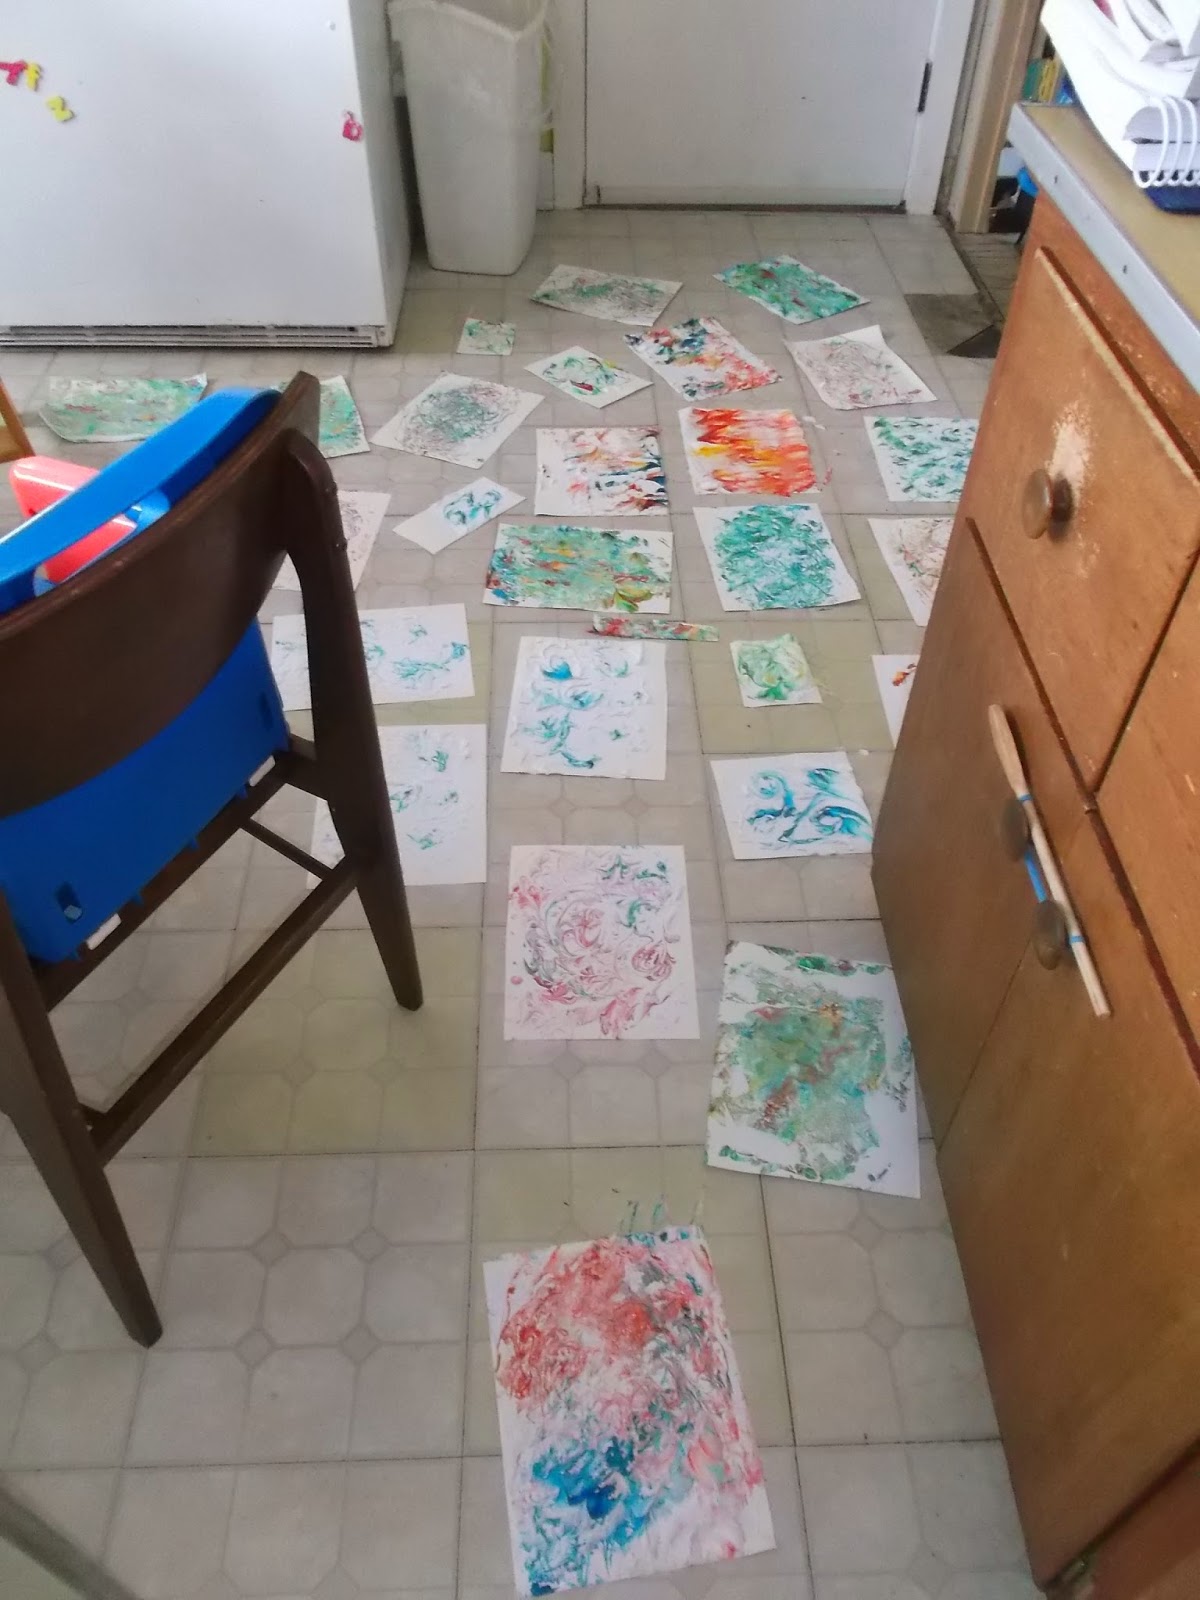
Cleaning up after we ran out of paper was the biggest challenge - what to do with all that colored foam?  I ended up washing it all down the sink.  
So, if the gloom is this spring is getting you down, spend some time sniffing the lovely perfume of shaving foam (helpful hint: find a scent-free foam) and make some pretty paper.  We used ours to make cards and wrap some gifts.

Happy marbling everyone!

Thursday, May 15, 2014

Bookmarks for Mother's Day

I suppose I should post about what we made for Mother's Day before that holiday is only a distant memory in everyone's minds.  Not that it would really matter since this project isn't actually holiday specific, but since we made it as part of our Mother's Day preparations, it counts as a Mother's Day project.  So, without further delay, we used poster board, Sharpie markers, and rubbing alcohol to make fancy bookmarks to give to all the Grandmas.

I got the idea for this project from another blog (Happy Hooligans), but as usual I didn't have the exact materials to replicate the photo I found on Pinterest, so this is my own version.  

First I cut out bookmark shapes from poster board.  
Then I gave the kids smocks and Sharpie markers and told them to color them as brightly at possible.  Experience taught us that this project works best if you color on the matte side of the poster board and not the glossy side.
Each child exhibited their own unique style as they colored.
After the entire bookmark was decorated, I spread the pieces on paper toweling and then dripped rubbing alcohol all over them.  The alcohol caused the ink to run and it was pretty neat to see the colors swirl, mix, and fill in the little gaps.  There is probably a science lesson hidden somewhere in this project, but we'll save that for a different day.  We also discovered that the alcohol caused the ink to seep through the poster board and make the colors visible on the back as well.
Helpful hint: Do not move the bookmarks until they have completely dried or the ink will puddle and get muddy or even drain off the poster board.
Once the alcohol was dry, I sprayed each bookmark with several coats of sealant.  I discovered that the sealer could also reactivate the ink, so the first coat was just a mist.  Once that coat was dry, I could do a more thorough job.

The final step was to punch a hole and thread through some ribbon (we also used rick-rack, which the kids thought was really cool).
The bookmarks turned out quite pretty and I have a feeling I will find more uses for this coloring technique.
In the mean time, I "borrowed" one of the bookmarks for my own use.

Happy coloring everyone!

Monday, May 12, 2014

May Day Baskets

Happy Day After Mother's Day to you all.  Have you recovered from the fun?  This year I was not blessed with breakfast in bed, which I will admit was a relief.  My kids enjoy delivering breakfast in bed, and their joy is contagious, but their stomachs and aspirations always outpace their culinary skills leaving much to be desired in the breakfast department.  I was much happier with the afternoon ice cream treat!

I suppose on the day after Mother's Day I should really post about the bookmarks the kids made to give as gifts to their grandmothers, but I decided I'd put that off for a while and instead go back in time to May Day.  On May 1, Brynnie asked me if there were any holidays in May and I was reminded of the tradition of my childhood of secretly delivering May Baskets to the neighbors.  The idea of making flowers and a basket from paper thrilled Brynn and she proceeded to make a bouquet.
Blair got involved by decorating some paper,
which Brynn used to weave into a basket.  (Just for reference, weaving is just a little beyond the skill level of a kindergartner but we worked through it together.)
We told Ian he couldn't be involved in the delivery of the basket unless he helped in the making of the basket, so he used some rubber stamps to make a card.
Then they prepared to deliver the completed May Basket.  As you scroll through the rest of the pictures, hum the Mission: Impossible theme song to yourself, because they took their broad-daylight, across the front yard, past large front windows secret mission VERY seriously.
Mission accomplished.

Happy belated May Day everyone!


Linked up at:
Hearts for Home Blog Hop

Monday, May 5, 2014

School Days: Brynnie's Pocahontas Costume

Happy Monday!  Did you all have a nice weekend?  Ours was quite busy - Aaron got the shower in the master bathroom tiled (post to come), I went to some garage sales, the kids played outside a lot, I tried a different method of marbling paper which was an epic bust (no post to come on that one) and we had company for Sunday dinner.  It was a great deal of fun, but the fact that the kids are STILL sleeping on this Monday morning should tell you how tuckered out they got.

If my marbling project had worked out I would probably have posted about that today, but as it was a complete flop (I may try again in the future with a different type of ink...we shall see)I will instead show you Brynnie's Pocahontas costume, which we made over the course of several months.

In case you didn't know, November is National Native American Heritage Month, so as part of my kindergarten curriculum I have had the kids learn about different tribes and traditions during those weeks and then it ties in very nicely with the story of the Pilgrims and the First Thanksgiving at the end of the month.  Brynnie spotted instructions for making moccasins from felt in one of the library books and decided that her life would not be complete without her own pair of moccasins.  Thus began our journey to a Pocahontas costume.
The moccasins took several days to complete because Brynnie did most of the work (cutting, gluing and lacing) herself.  She was especially proud of sewing the little heart appliques on all by herself.
Brynn proudly wore her moccasins around the house as slippers until January, when she discovered that as part of a Valentine's Day event she was going to get to dress up as a literary or historical character.  She picked Pocahontas almost immediately, and began to pester me about making her costume.  She even found a picture in a book which I was required to imitate EXACTLY.  The moccasins were put away to preserve them and I started trying to figure out how to achieve Brynnie's dream costume without breaking the bank or using up every hour of the day for six weeks.

One area of compromise was the beaded belt.  She wanted authentic materials and I did not.  In the end we were able to agree on fabric paint.
The tunic made of burlap was another sticking point with Brynn.  She did not understand why it didn't drape and flow like her picture-book ideal.  I patiently informed her that no Native American EVER had an outfit that looked like that costume.  She was not convinced, but when faced with the choice of burlap or nothing she decided that suffering for fashion's sake was better then the alternative.  Her wounded vanity began to recover when we dug the feathered headband out of the bottom of her brother's toy-box and was fully restored with a string of beads to complete the ensemble.
We may not have (okay, absolutely did not) achieved historical or cultural accuracy with this costume, but we did have fun making it, which is all that really matters.  Right?  Of course right.

Happy costume making everyone!

Monday, April 28, 2014

School Days: Weekly Pond Study Review

Hello!  I have returned.  Did you all miss me while I was gone on my unplanned sabbatical?  Hopefully you didn't forget about me!  Even if you did, I am back again to remind you of all the fun there is to be had projecting!  I won't bore you by going back and revisiting all the things we did at Christmas time or for Valentine's Day or St. Patrick's Day but I do have photos to share from a few things we've done since my last post, just so you don't think I gave up "doing stuff" altogether in my blogging absence.

One thing we started way back in January was a weekly visit to our backyard pond/marsh.  This is a year-long nature observation project to supplement our science textbook.  I'll probably post an update now and again as the year progresses.  My idea was to try and take a photo from roughly the same spot each week and at the end of the year turn all the pictures into a flip book.  We shall see.....If you scroll down really fast you might get an idea of how it will look.
Week 1

Week 2 & 3 (I'm lumping them together since there was no real change from week to week during the winter months.)
Week 4
Followed by some fun pictures so that you don't get depressed from reminders of how long and cold and unpleasant our winter was.

Week 6 & 7
Week 8 - A CHANGE!
Week 9
Week 10
This doesn't quite bring you up to date, but I will save the story of my falling into that mucky water for a future post - that way you have to keep checking back in.

Happy spring, everyone!

Monday, January 6, 2014

Holding On

Happy New Year to all my faithful readers.  Or should I call you faithful waiters, since there hasn't been much to read in a long time?  Either way, Happy New Year.

In the new year I plan to do lots of fun projecty stuff, but sadly, I still haven't figured out how to get my my borrowed laptop to play nicely with my camera, so I can't show any of them to you.  Hopefully you will all resolve to keep waiting patiently, until I get my technology issues figured out.

Happy waiting, everyone!

Wednesday, December 4, 2013

Christmas Vacation

In years past on this blog, when December arrived I started some sort of Christmas craft countdown with a Christmas related project posted each day.  There is just something about the holiday season that requires me to stay up way too late every night making stuff.  I had intended to do something similar this year and my project box is overflowing with supplies to prove it.
But then, tragedy struck.
My laptop died, rather suddenly and unexpectedly. 
So, no marathon blogging or counting down for me.  Instead I am taking a forced Christmas blogging vacation.  I will survive, as long as "Old Trusty" (my glue gun) and "Old Reliable" (my sewing machine) don't let me down (and as long as I can get an occasional Pinterest fix on my husband's phone).

Merry Christmas everyone and I'll be back soon!